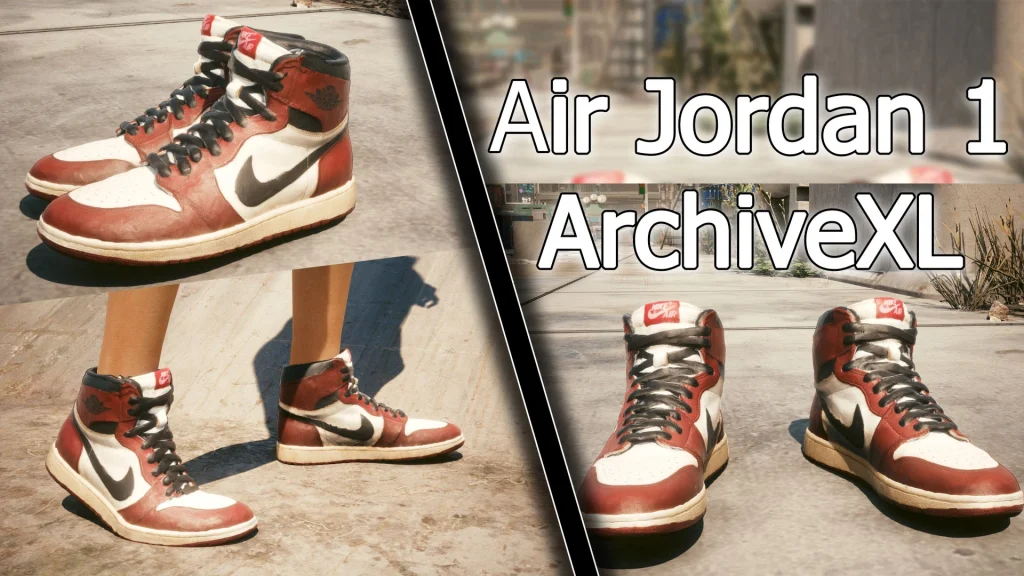
Adds iconic sneakers to Cyberpunk 2077 in the form of Nike Air Jordan 1s!
While developing my Mini Cooper vehicle mod, I noticed something interesting about decals, stickers, and textures that sat “on top” of other meshes. These decal materials allow a mesh layer to be the texture for an entirely separate mesh’s model. This has huge implications in my opinion, and I’m only scratching the surface. (I’ve got some ideas written down to polish, stay tuned!)
Most meshes in Cyberpunk 2077 are multilayer meshes with advanced material layers connected. This helps CDPR create very high quality textures and materials with every model in the city. (It’s particularly important for raytracing, as the lighting engine needs to know the material’s reflective levels.) While this method is great for high quality models, it means most geometry is configured with a material file, not a texture file. When CDPR wants to do something like a detailed logo, they create a regular mesh with a standard material, and then add a separate decal mesh layer on top with the logo image attached.
This is where I wanted to try something new. Why not use the decal properties for the entire object? The key ingredient here is that a decal or texture can easily use a simple jpeg type image as its texture, while typical multilayer meshes cannot. One other thing to account for is that stickers do not have any in-game mesh appearance. For example, with one layer on top another, the top layer is the sticker texture, and the bottom layer is the mesh location. The sticker layer “projects” down onto the bottom layer’s mesh. This means we require 2 meshes for our object, an inner “shape” core, and a microscopically larger mesh with the texture.
This proved to be a great success! The biggest downside: texture quality. Since the texture file is “cast” down onto the mesh, its position is not perfect to where it could be on the geometry. (Notice the red border on the bottom edges of the shoe, it seems to travel up the side in some spots) I used a real-life scan of shoes for this test, which helped a lot to cover up the projection distortions. Here’s the flip side; it took me less than an hour! There are better quality shoe models available, and those authors have often poured weeks into single items and it shows! This method is something I would consider for a larger scale mod project. If I am developing a large feature set for a mod and want 15 random clothing items for it, I just need to find some textured models online, add an outer layer, and convert it all with WolvenKit.